Learn how to work with Xcode Previews in SwiftData App. SwiftData in combination with SwiftUI…
How to upload your Xcode Project to Github – Tutorial

In this article, we will walk you through the process of setting up GitHub in Xcode and uploading your SwiftUI project to your GitHub account. The steps will include configuring GitHub in Xcode, creating a Git repository, and pushing code updates. Let’s dive in!
Step 1: Create a New Xcode Project
- Open Xcode and create a new SwiftUI project.
- Name your project. In this example, we’ll call it “Xcode To Github Demo App.”
Step 2: Add Your GitHub Account to Xcode
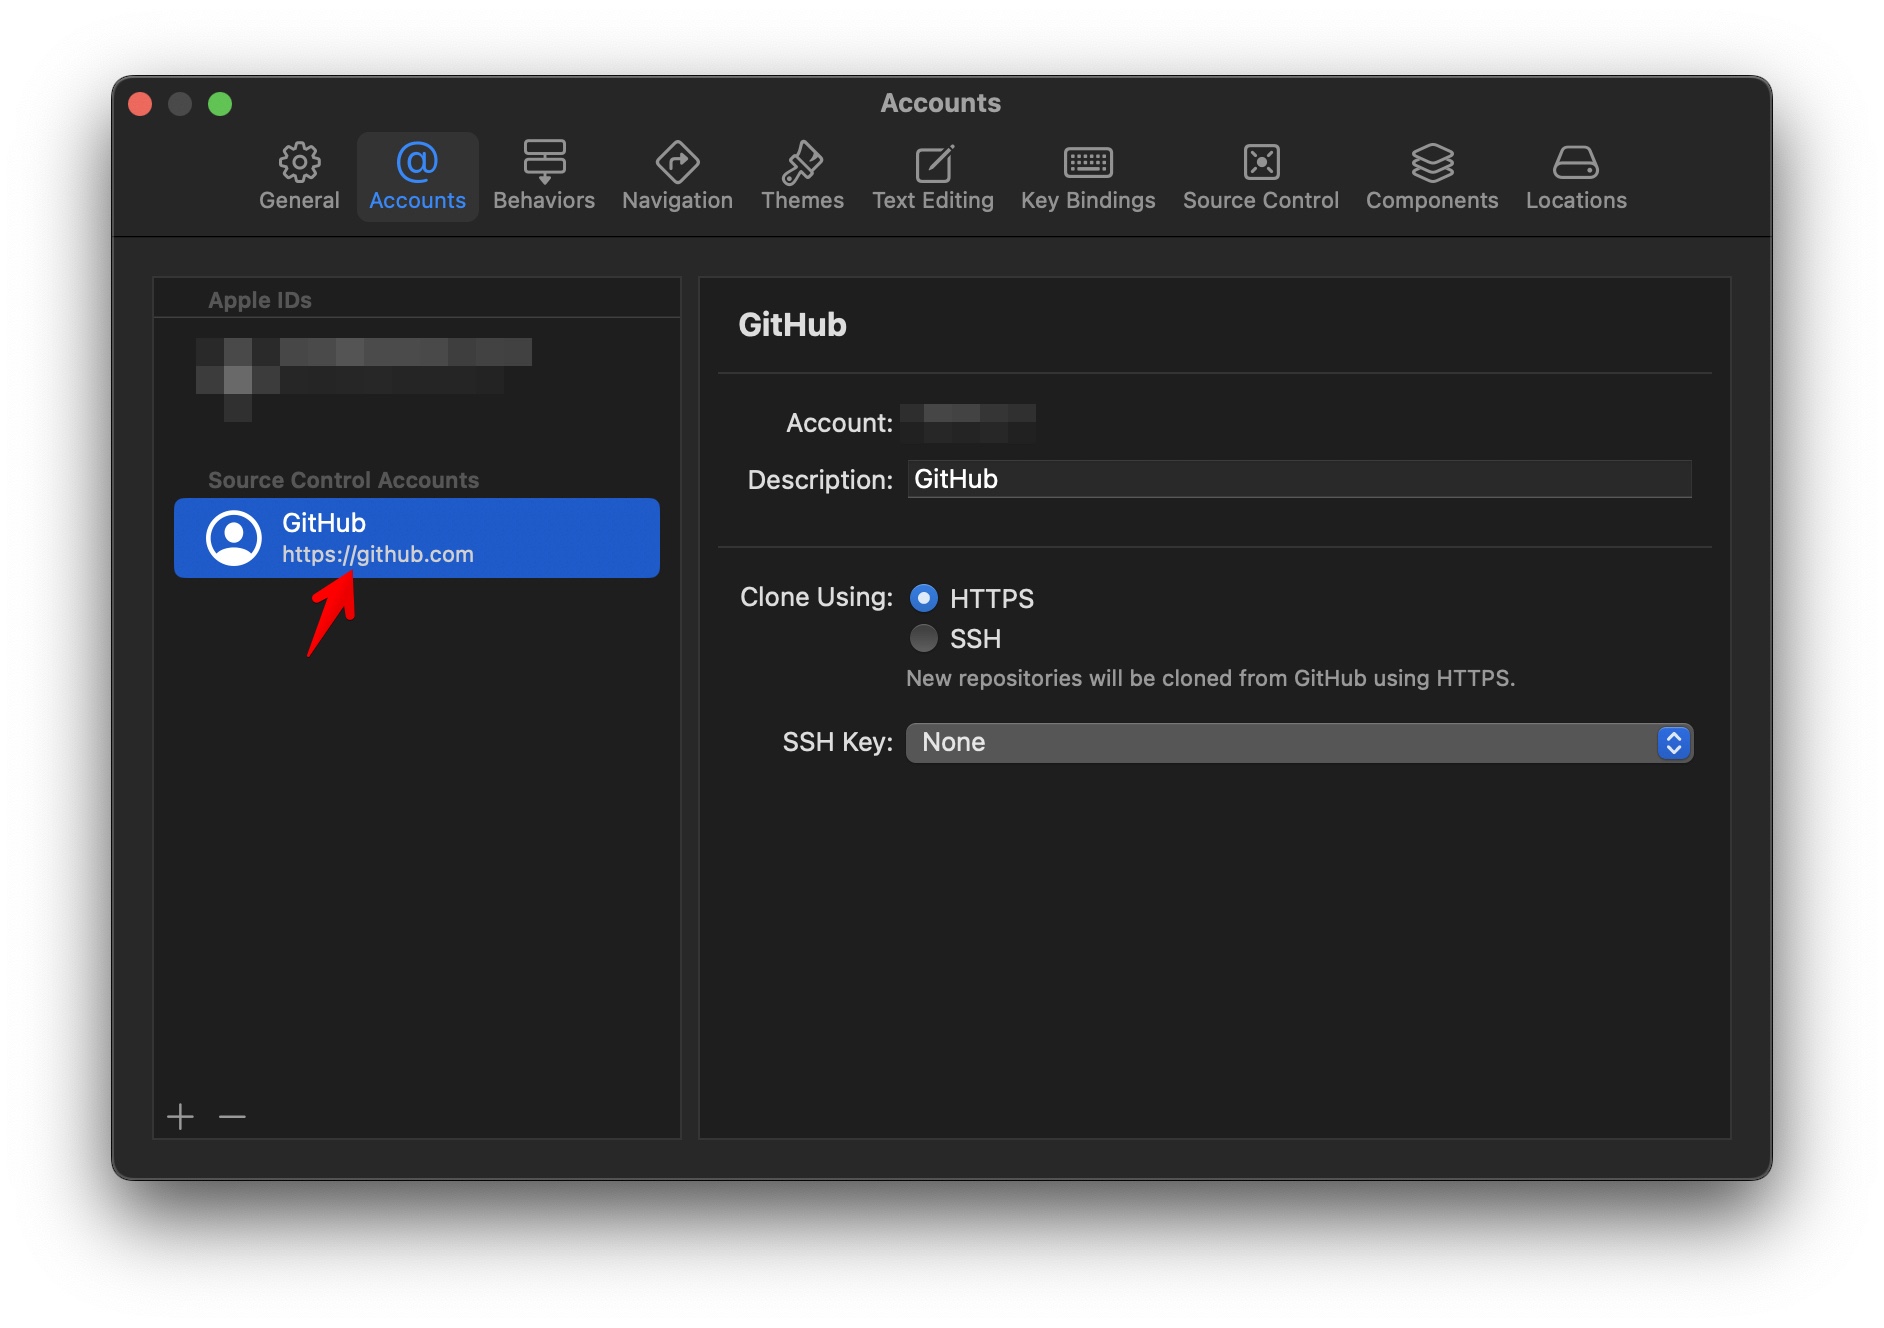
- In Xcode, navigate to Xcode > Settings (or Preferences, depending on your macOS version).
- Go to the Accounts tab.
- Click the + button to add a new account, and select GitHub.
- Enter your GitHub username.
- You’ll need a personal access token to authenticate. Let’s generate one.

Step 3: Generate a Personal Access Token on GitHub
- Log in to your GitHub account, tap on your profile icon and go to Settings.
- Scroll down and select Developer settings (on the left).
- In the left-hand menu, click Personal access tokens > Tokens (classic).
- Click Generate new token, and confirm by entering your GitHub password.
- Name your token (e.g., “Xcode”), and set an expiration date or choose No expiration.
- Check all the scopes to grant full access, then click Generate token.
- Copy the generated token.
Step 4: Link the Token with Xcode
...🔒 The remaining content of this article is only available on our Substack!


This Post Has 0 Comments