Welcome to a fun and easy introduction to app development with SwiftUI! This tutorial will…
SwiftUI Button
SwiftUI Button – is a control that performs an action when triggered.
Let’s create some SwifUI Buttons.
SwiftUI Button Example
Let’s create a simple SwiftUI button. After adding the code, run it in a simulator and it should print “Button Tapped” when tapped.
Button(action: {
print("Button Tapped")
}) {
Text("Press Me")
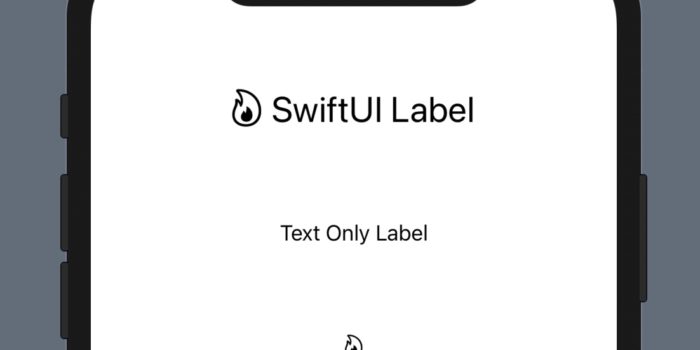
}How to add an image to a Button
It is easy to add an image near SwiftUI Button text with the following code:
 Button(action: {

            print("Button Tapped")

        }) {

            Text("Press Me")
            Image(systemName: "star")

        }
Make SwiftUI button with rounded corners and a background
This content is for members only. Login or Register to read
How to change the size of a button in SwiftUI
This content is for members only. Login or Register to read
An example of using a Button together with a variable
This example is representing how to increment the value of a tapCounter variable on each button tap. Use the code and test it in a simulator or a preview.
  @State var tapCounter: Int = 0

    var body: some View {

        VStack(spacing: 20) {

            Button(action: {

                self.tapCounter += 1

            }) {
                Text("Press Me")
            }

            Text("Button Pressed: \(tapCounter) times")

        }

    }
Create the simplest Button
If you want to have the button with just a text, you can simplify your code. Now, let’s create the simplest button. It will show Button Tapped message in a console when tapped.
  Button("The Simpliest Button") {
            print("Button Tapped")
        }
How to create a Round Button in SwiftUI
This content is for members only. Login or Register to read
Learn more about SwiftUI using SwiftUI Tutorials by the AppMakers
If anything will change in the future, it is OK, you can always check the official documentation.
Leave a comment to Submit the NEW and USEFUL code related to the topic of this post.
Submit a brief and useful code only.
Related Posts