In this article, we will walk you through the process of setting up GitHub in…
How To Add a Tap Gesture to UILabel in Xcode using Swift
In this tutorial, you will learn How To Add a Tap Gesture to UILabel in your iOS App in Xcode using Swift.
You will Need Mac, the latest Xcode and a real device running on iOS to complete this tutorial.
Let’s start.
Open your Mac and Xcode. Create a new project and name it How To Add Gesture to UILabel.
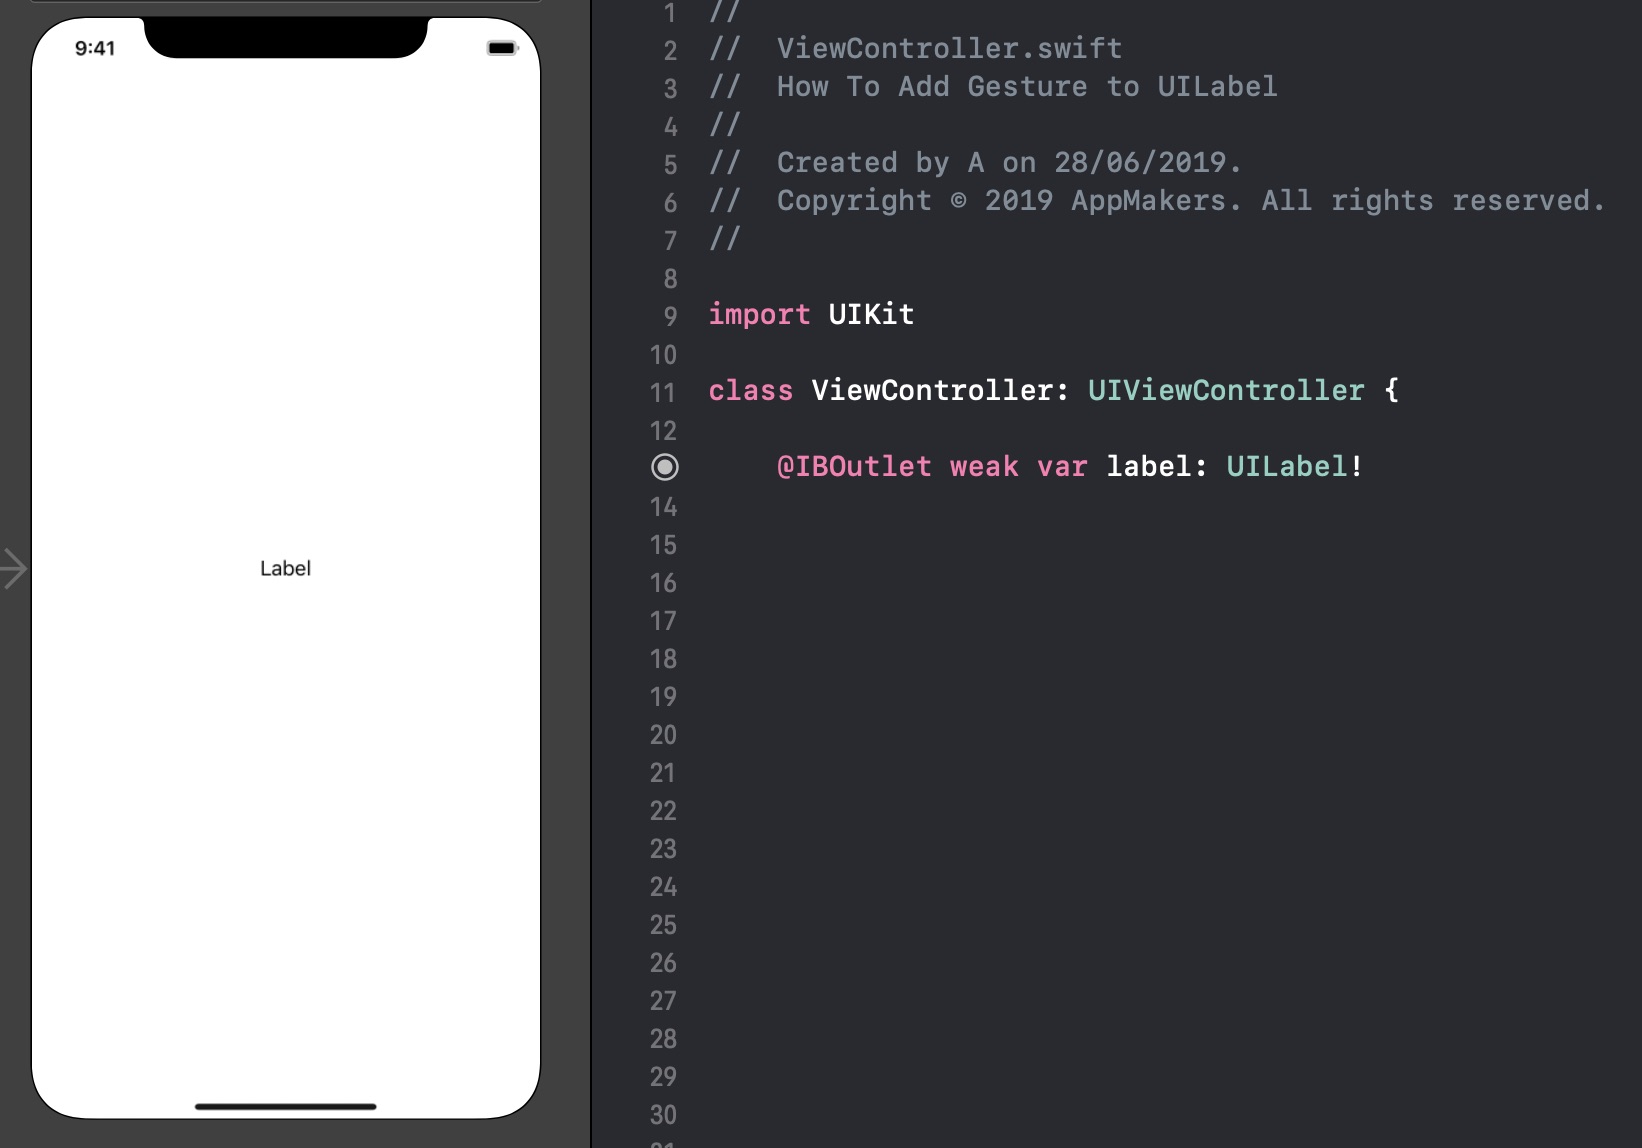
Go to your Main.Storyboard, create a label and connect it to your ViewController as and IBOutlet
@IBOutlet weak var label: UILabel!
Now, add the following code to your ViewController class:
  override func viewDidLoad() {
        super.viewDidLoad()
        // Do any additional setup after loading the view.

        self.setupLabelTap()

    }

    @objc func labelTapped(_ sender: UITapGestureRecognizer) {
        print("labelTapped")
    }

    func setupLabelTap() {

        let labelTap = UITapGestureRecognizer(target: self, action: #selector(self.labelTapped(_:)))
        self.label.isUserInteractionEnabled = true
        self.label.addGestureRecognizer(labelTap)

    }
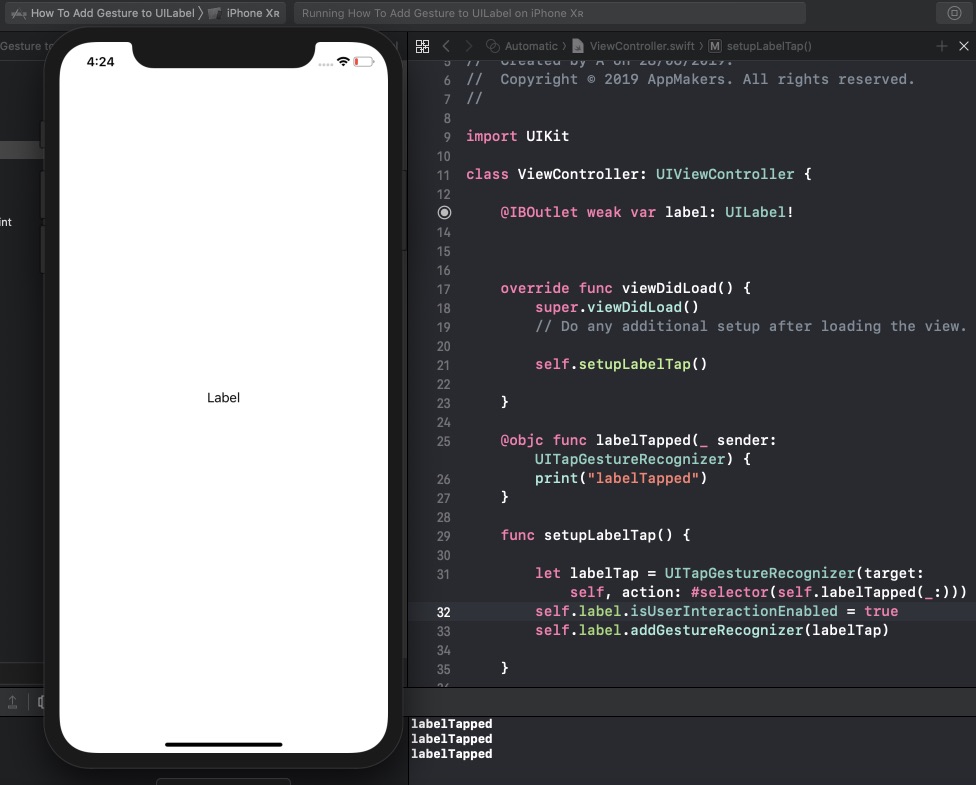
We just created a setupLabelTap() function where we’ve created a UITapGestureRecognizer which will fire a labelTapped() function. It is simple.
Now run the code in a simulator or on a real device and you should see a “labelTapped” in a console after tapping on a label.

Now you know how To Add a Tap Gesture to UILabel in Xcode. Thanks for reading this tutorial.
Don’t forget to subscribe to AppMakers.Dev mailing list if you love this content and want to stay tuned with recent iOS Development news, tutorials and resources.
Keep in mind that at the moment of writing this post we used Xcode 10 and Swift 5.
If anything will change in the future, it is OK, just use the new API calls for the functions mentioned in this post.


